If you missed part 8, please find it here.
Moving the lumber
After milling one quarter of the turntable it’s now time to move the lumber and start milling the second quarter of this half of the finished turntable. In short the process is like this:
- Power up everything (computer, Arduino, g-shield and stepper motors)
- Move the cutter -274 millimeters in the y-direction
- Move the lumber -274 millimeters in the y-direction
- Set this position as our new zero
Powering up everything and move the cutter -274 millimeters in the y-direction is easy but moving the lumber is the real trick. Since I put the lumber against the frame of my ShapeOko 2 in the x-direction, I don’t have to worry about movement in the x-direction as long as I keep the lumber against the frame. All I have to worry about is then moving the lumber -274 millimeters in the y-direction (step 3 above).
Basically, what I do is this:
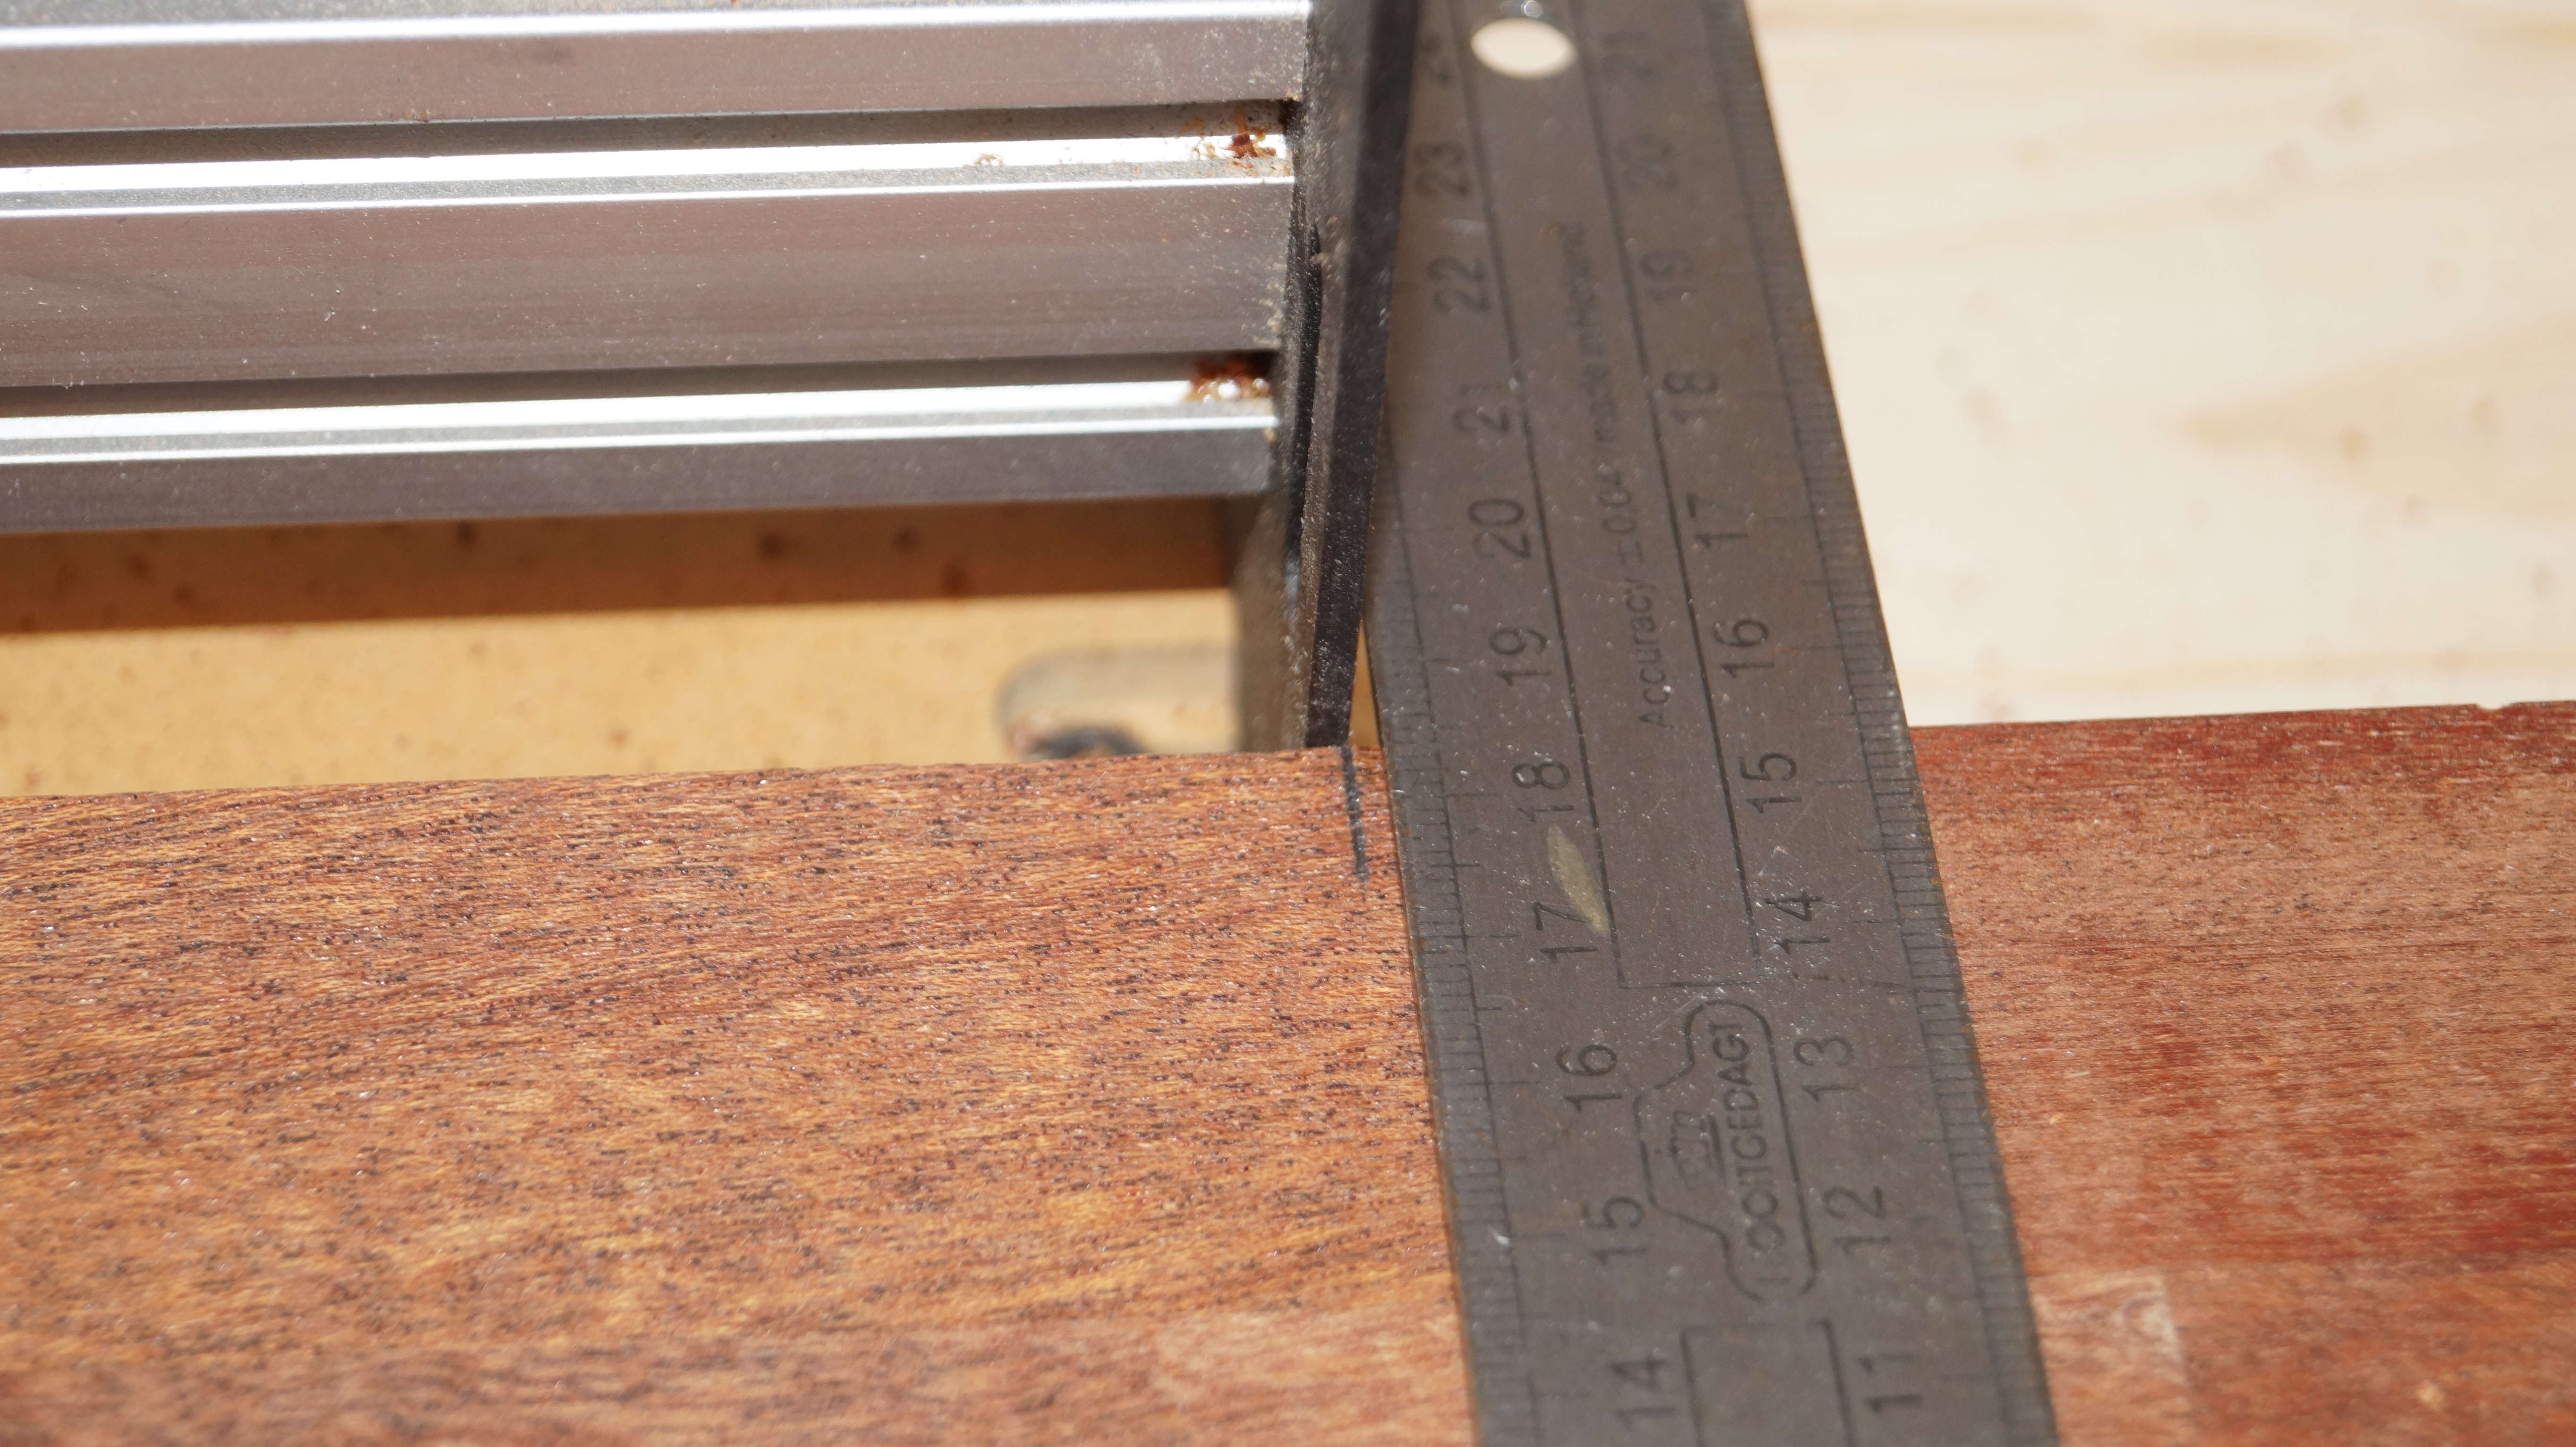
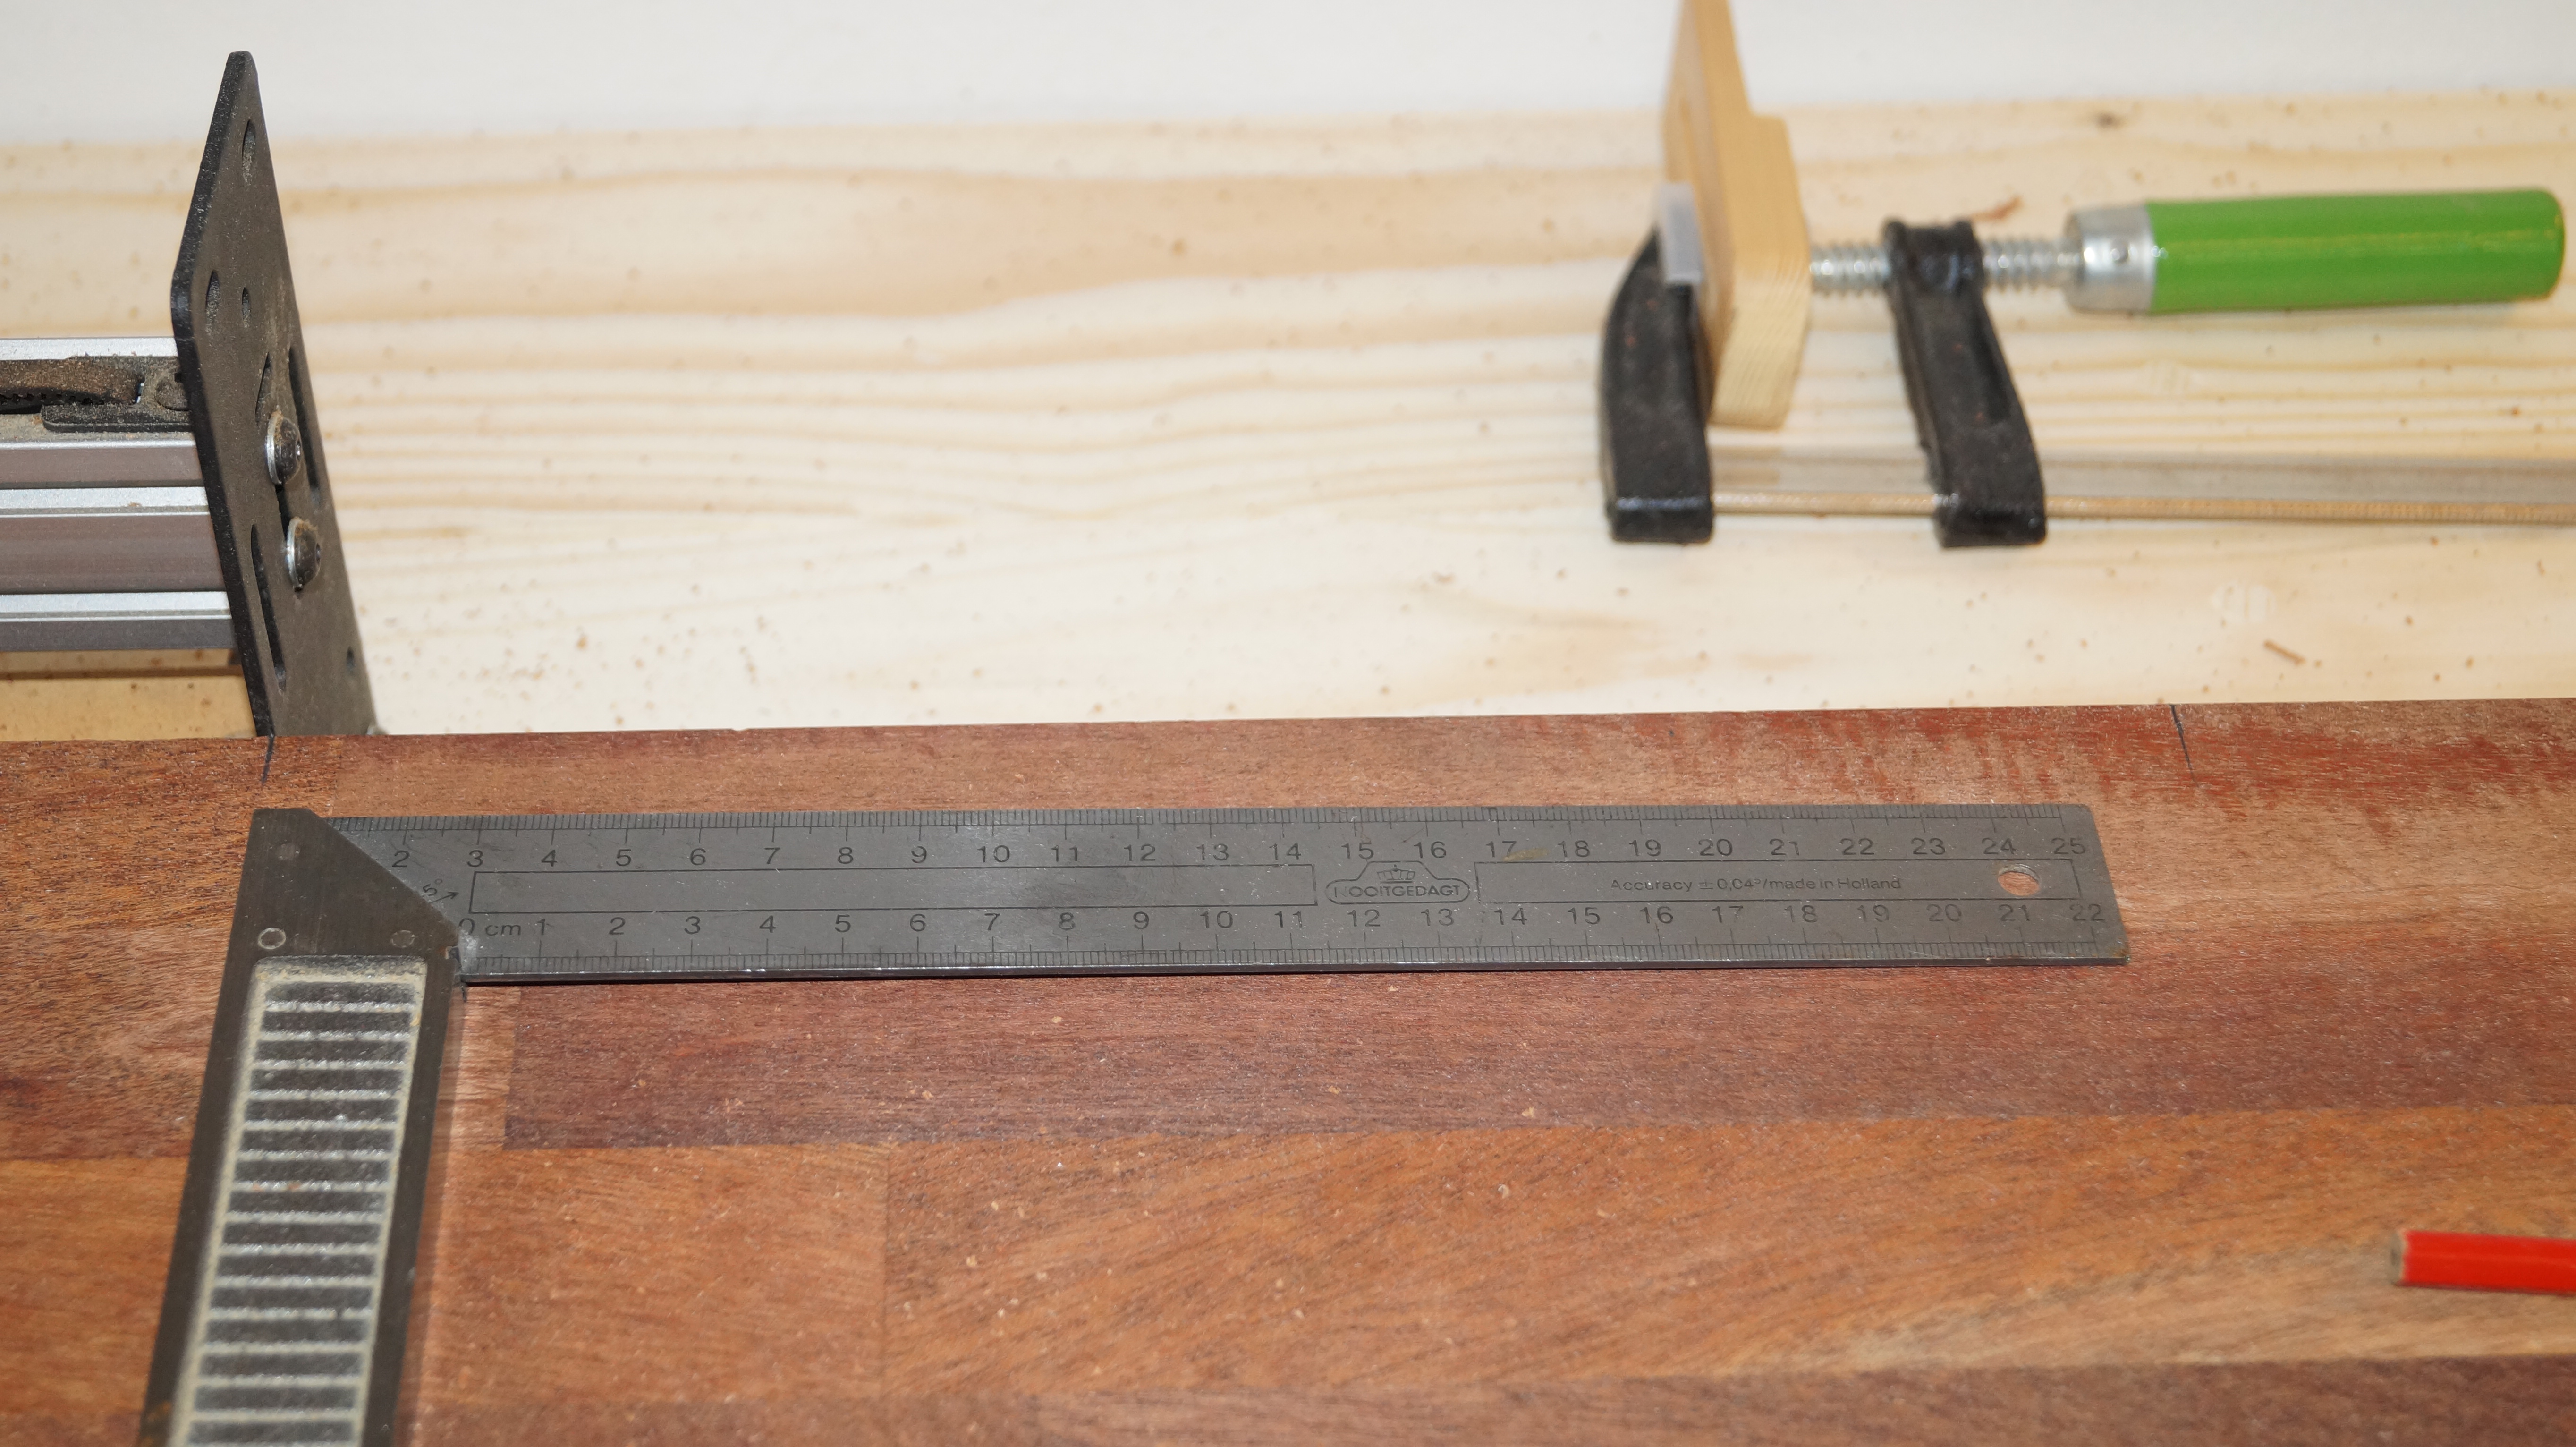
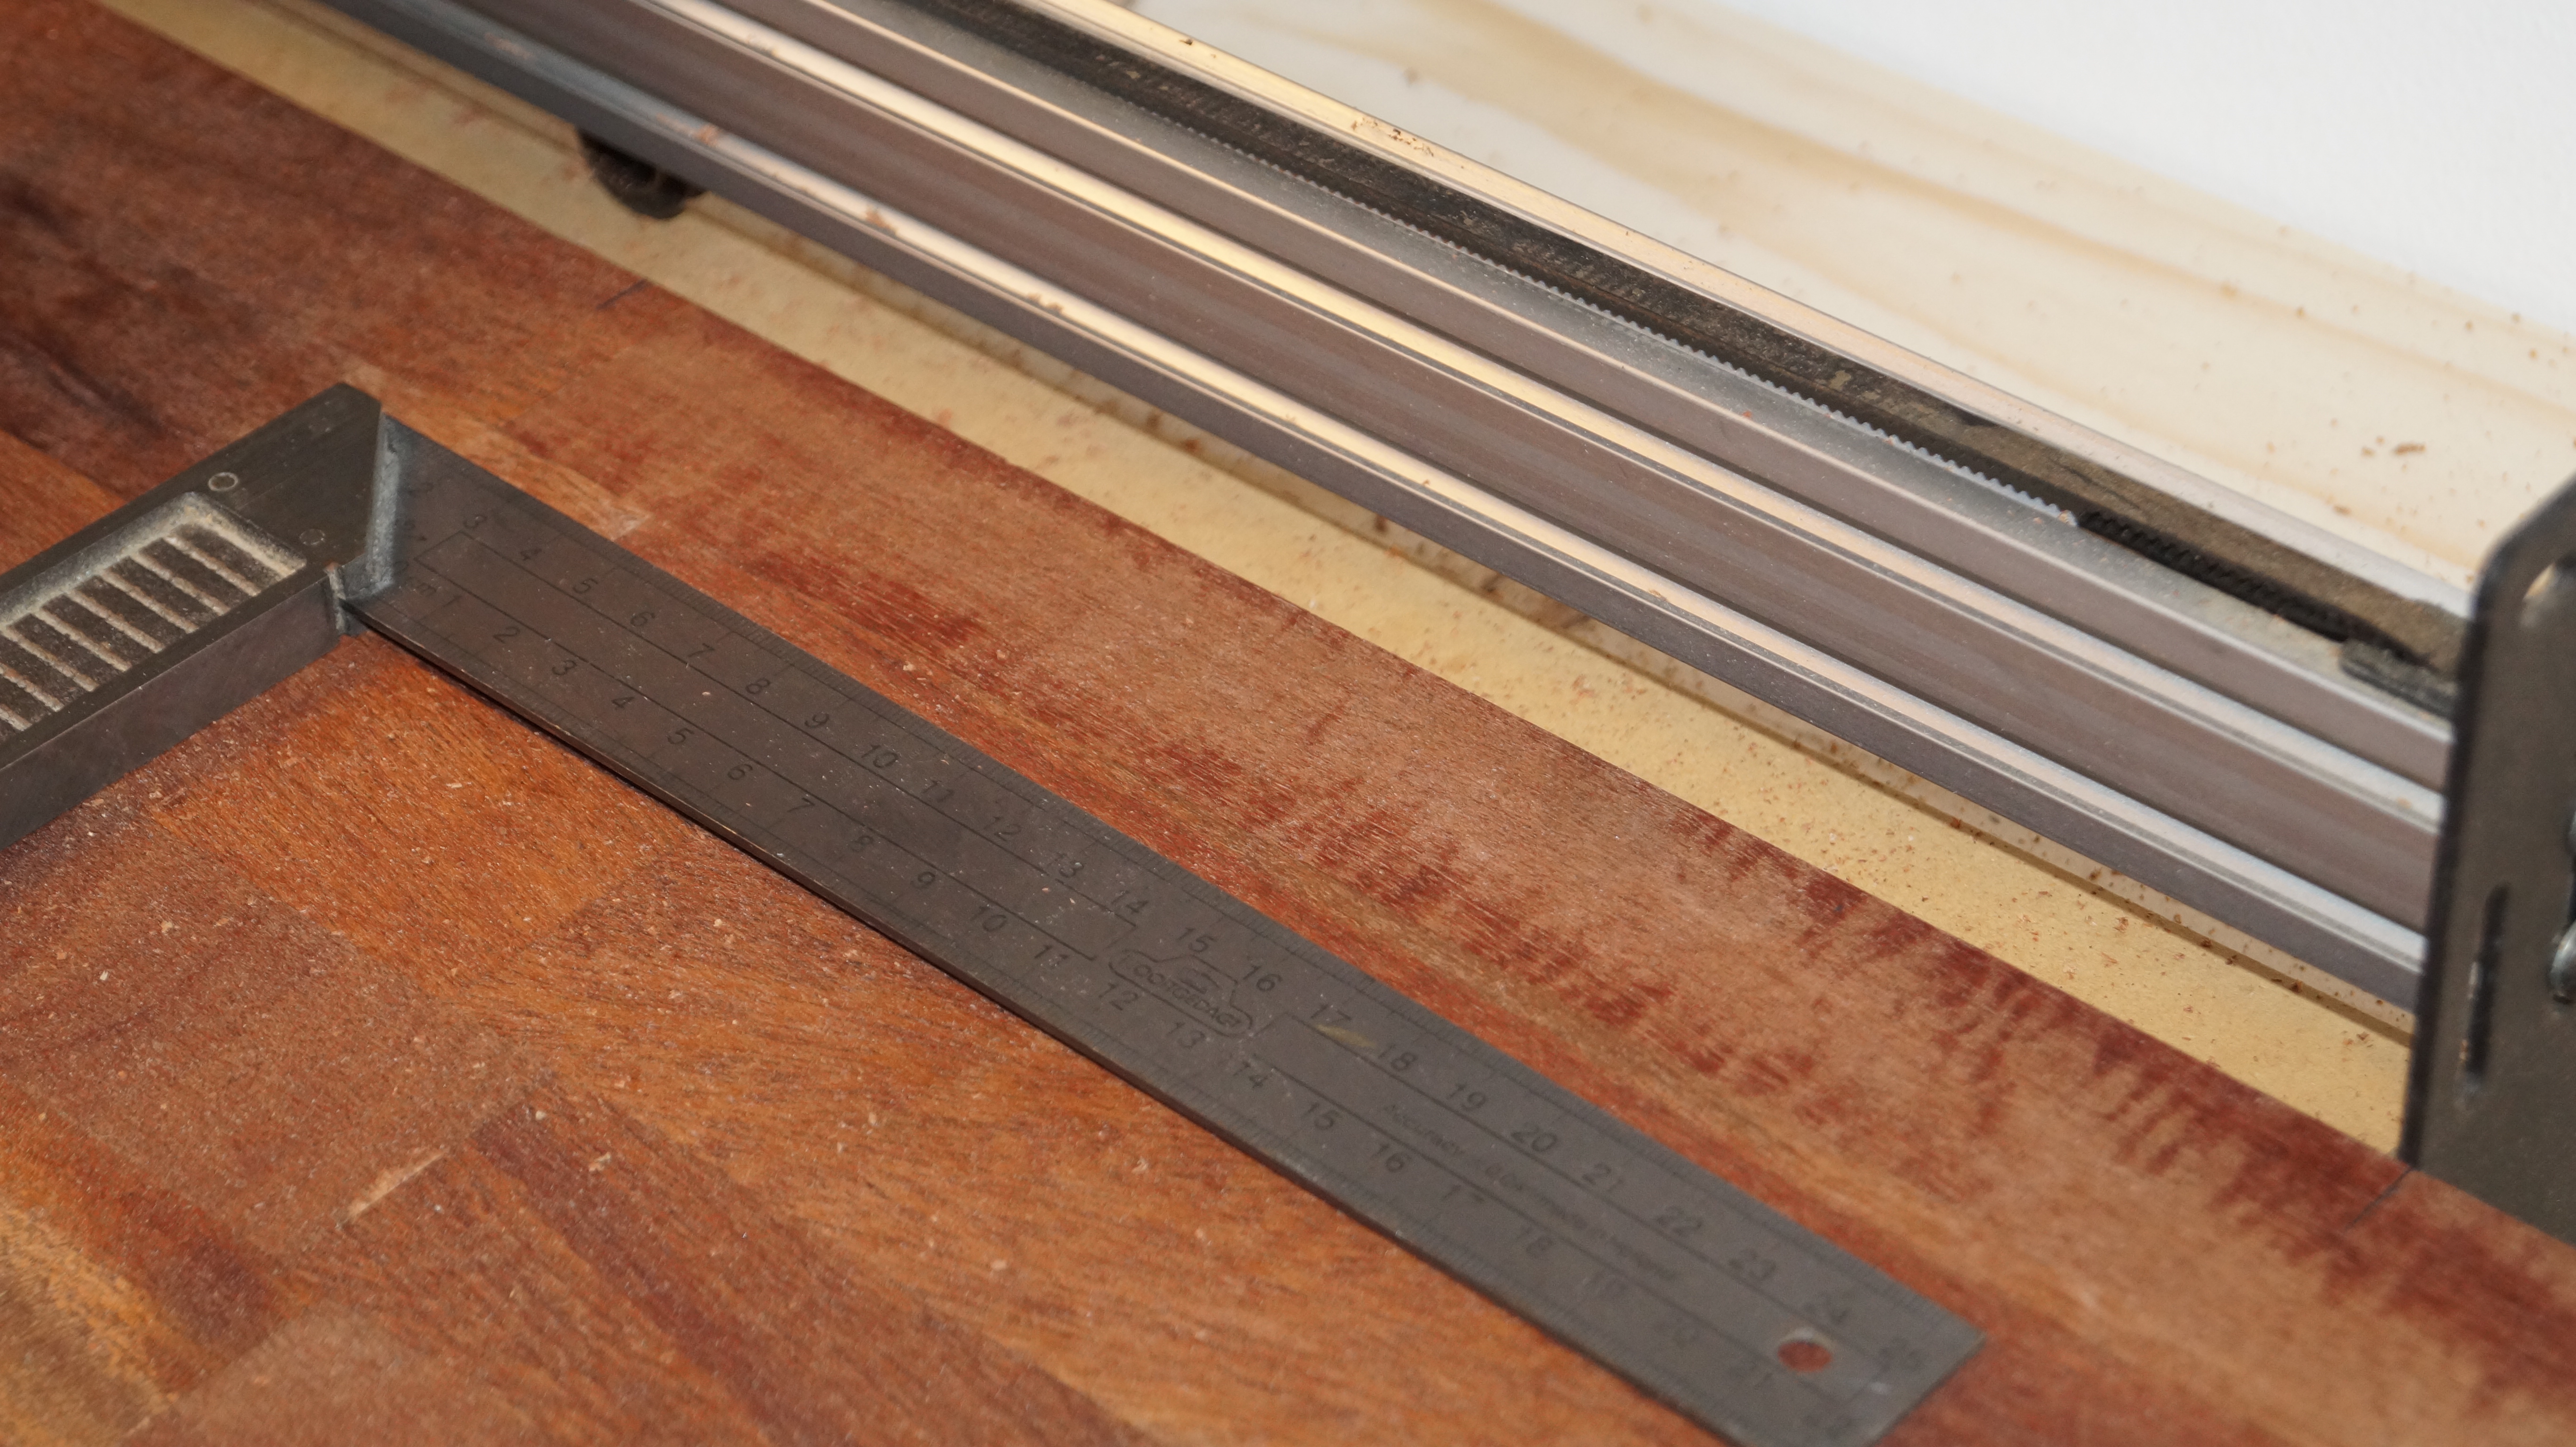
- Put a pencil mark at the lumbers current position using a square and the frame of the ShapeOko 2 as a reference point
- Put a pencil mark 274 millimeters from the first mark
- Move the lumber so the last pencil mark aligns with the frame
I’ve tried to take a few photos to illustrate the process:
After securing the lumber to the ShapeOko 2 again, we’re ready to start milling the next quarter.